How to Fix Bare Spots in Your Lawn: A Complete Repair Guide
Let gardening restore your lawn's beauty. Discover proven methods to repair dead patches, select the best grass seed, and bring your yard back to life. Transform those unsightly bare spots into a lush, healthy lawn.
START REPAIRING YOUR LAWNLet Gardening Repair Philosophy: A beautiful lawn starts with healthy soil and the right grass. We'll guide you through the essential steps to repair bare spots, from soil preparation and grass selection to watering and ongoing care. Let's turn those dead patches into a vibrant, green lawn you'll be proud of.
Why Do Bare Spots Appear?
Bare spots in your lawn can be frustrating, but they're a common problem with several potential causes. Understanding the root of the issue is the first step to effective bare spots repair. Common culprits include:
- Heavy Foot Traffic: Constant walking or playing can compact soil and damage grass blades, leading to thinning and bare patches.
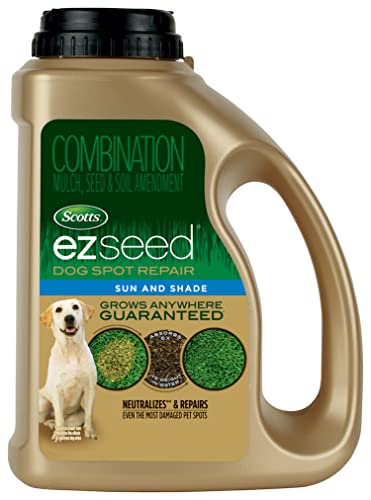
- Pet Urine: Dog urine contains nitrogen, which can burn and discolor grass, leaving yellow or brown spots.
- Grub Damage: Grubs are beetle larvae that feed on grass roots, causing large, irregular dead patches that peel back easily.
- Fungal Diseases: Conditions like brown patch or dollar spot can kill grass in circular patterns, often exacerbated by high humidity or overwatering.
- Improper Mowing: Cutting grass too short (scalping) or using dull blades can stress the lawn and create thin, vulnerable areas.
Once you've identified the cause, you can choose the most effective repair strategy. For many, overseeding or patching with new grass is the perfect solution. Learn more about comprehensive lawn care to prevent future issues and maintain a healthy lawn year-round.
Step-by-Step Bare Spots Repair Guide
Repairing bare spots is a straightforward process that yields quick results. Follow this step-by-step guide to restore your lawn's lush appearance:
-
Step 1: Assess and Prepare the Area
Start by removing any dead grass, weeds, or debris from the bare spot. Use a stiff rake to loosen the top 1–2 inches of soil. This improves seed-to-soil contact, which is essential for germination. If the soil is compacted, consider aeration. For larger areas, you can refer to our guide on lawn aeration for better results.
-
Step 2: Choose the Right Grass Seed
Select a grass seed that matches your existing lawn type and climate. Matching the seed to the grass type ensures a uniform appearance. For cool-season grasses, a fescue or bluegrass blend works well; for warm-season lawns, Bermuda or zoysia are ideal. You can find more details on grass varieties in our guides on Bermuda grass, Zoysia grass, and Fescue grass.
💡 Pro Tip: Seed Selection
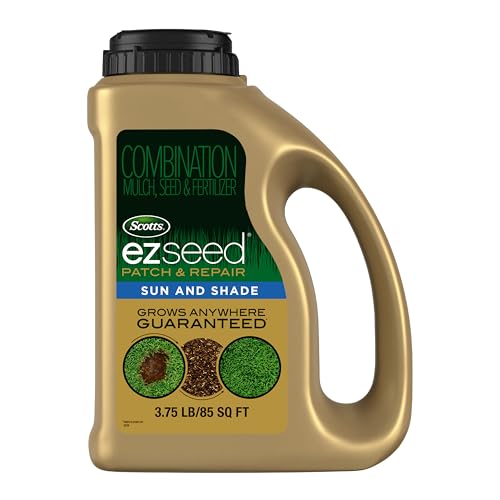
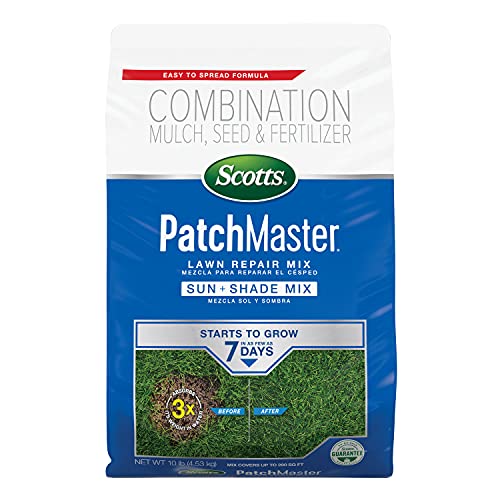
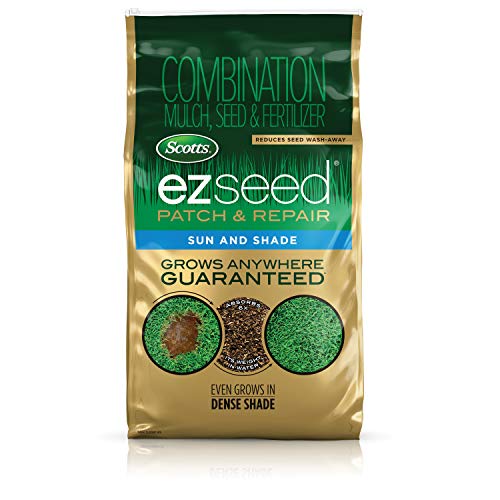
For small bare spots, consider using a patch repair mix that includes seed, fertilizer, and mulch. This all-in-one solution simplifies the process and provides excellent results.
-
Step 3: Apply Seed and Fertilizer
Evenly spread the grass seed over the prepared area. For larger spots, use a broadcast spreader; for smaller spots, hand application works fine. Lightly rake the seed into the soil, ensuring it's covered by a thin layer (about ¼ inch). Apply a starter fertilizer rich in phosphorus to encourage root growth. This is a crucial step for successful bare spots repair.
-
Step 4: Water Consistently
Keeping the soil moist is vital for germination. Water the patched area lightly and frequently—ideally 2–3 times a day for short periods (5–10 minutes) until the new grass is established. Once the grass reaches 2–3 inches, you can reduce watering frequency and start a regular watering schedule. For more watering guidance, visit our watering guide.
-
Step 5: Mow and Maintain
When the new grass reaches about 3 inches in height, give it its first mowing. Use a sharp blade and set your mower to a higher setting to avoid stress. Continue with regular lawn care practices, including proper mowing, fertilizing, and weed control. To keep your lawn healthy, consider our tips on lawn fertilizing and dethatching as needed.
Choosing the Best Grass for Repair
Selecting the right grass seed for your bare spot repair is crucial for seamless integration and long-term health. Here's a comparison of common grass types to help you decide:
| Grass Type | Best For | Sunlight Requirement | Repair Cost (per bag) |
|---|---|---|---|
| Bermuda Grass | Warm-season lawns, high traffic | Full sun (8+ hours) | $40–$60 |
| Zoysia Grass | Warm-season, drought tolerant | Full sun to light shade | $50–$80 |
| Fescue Grass | Cool-season, shade tolerant | Partial shade to full sun | $35–$55 |
| Kentucky Bluegrass | Cool-season, lush appearance | Full sun to light shade | $45–$75 |
* Prices are approximate and may vary based on brand, seed quality, and retailer. Always check current pricing before purchase.
When Is the Best Time to Repair Bare Spots?
Timing is everything when it comes to bare spots repair. The best time to sow grass seed depends on your climate and grass type:
- Cool-Season Grasses (Fescue, Kentucky Bluegrass): Early fall or early spring are ideal. The cooler temperatures and consistent moisture promote germination and root development.
- Warm-Season Grasses (Bermuda, Zoysia): Late spring to early summer, when soil temperatures are consistently above 65°F. Warm-season grasses thrive in heat and are best established during their peak growth period.
For additional seasonal maintenance tips, check out our guides on spring gardening, summer gardening, fall gardening, and winter garden preparation to keep your lawn in top shape all year.
Advanced Repair Techniques for Larger Areas
For larger bare spots or areas with severe soil issues, you might need a more advanced approach:
- Slit-Seeding or Power-Seeding: This method uses a machine to cut grooves into the soil and deposit seed directly, ensuring excellent seed-to-soil contact. It's ideal for large, thin areas.
- Sod Patching: For immediate results, you can cut a piece of sod to fit the bare spot. This is a more expensive option but provides instant green coverage.
- Compost Topdressing: Adding a thin layer of compost over the seeded area boosts soil fertility and moisture retention, enhancing germination rates.
These techniques can be particularly effective when combined with a comprehensive lawn aeration and overseeding strategy to rejuvenate your entire lawn.
Preventing Future Bare Spots
Once you've repaired the bare spots, consistent care is key to preventing recurrence. Consider these preventive measures:
- Mow at the Correct Height: Never remove more than one-third of the grass blade at a time. Maintaining a taller cut (2.5–3 inches) promotes deeper roots and shade out weeds. For more mowing best practices, see our mowing tips.
- Water Deeply and Infrequently: Encourage deep root growth by watering 1–1.5 inches per week, rather than frequent light watering. This helps grass withstand drought and foot traffic.
- Manage Dog Urine: Flush the area with water immediately after your dog urinates, or designate a specific "pet spot" in your yard to concentrate the damage.
- Regular Fertilization: A well-fed lawn is more resilient. Apply a balanced fertilizer according to a schedule that matches your grass type. Visit our lawn fertilizing section for more details.
- Pest and Disease Control: Monitor for grubs and fungal diseases. Early detection can prevent widespread damage. Explore our guides on grub control and lawn fungus for proactive management.
🌱 Quick Fix: What to Do If Your Bare Spot Keeps Coming Back
If a bare spot reappears in the same area, check for underlying issues like poor drainage, tree root competition, or compacted soil. You may need to improve soil structure with organic matter or install drainage. In some cases, replacing the grass with a more suitable type, such as a drought-tolerant plant or ground cover, might be the best long-term solution.