Irrigation System Repair Near Me: Expert Troubleshooting Guide
When your sprinklers stop working, your lawn and garden suffer fast. This comprehensive guide helps you diagnose common irrigation problems, decide between DIY fixes and professional repair, and find trusted irrigation system repair near me — so your landscape stays healthy and hydrated all season long.
START TROUBLESHOOTING NOWWhy Irrigation Repair Matters: A malfunctioning irrigation system wastes water, damages plants, and can even cause foundation issues from excess moisture or drought stress. Whether you have a simple drip setup or a multi-zone sprinkler system, prompt repair protects your investment in landscaping. This guide covers the most common failure points — from clogged heads and broken valves to controller glitches — and helps you understand when to call a local professional.
Common Irrigation System Problems and How to Diagnose Them
Before searching for "irrigation system repair near me," it pays to understand what's actually wrong. Most irrigation failures fall into a handful of categories. Use the troubleshooting cards below to identify symptoms and narrow down the cause. If you're comfortable with basic tools and plumbing, many of these issues are within reach for a confident DIYer. For anything involving mainline breaks, electrical faults, or backflow prevention, a licensed professional is the safer choice.
1. Sprinkler Heads Not Popping Up
If heads stay retracted or barely rise, the problem is usually low water pressure, a clogged filter, or a broken head.
- Check the zone valve is fully open
- Clean or replace the head filter screen
- Inspect for crushed or kinked lateral lines
- Test water pressure at the valve
2. Leaking or Broken Pipes
Puddles, soggy spots, or unusually high water bills often point to a lateral line or mainline leak.
- Look for consistent wet patches in dry weather
- Check for cracked fittings at joints
- Use a soil probe to trace moisture trails
- Shut off the zone and observe the meter
3. Faulty Sprinkler Valves
Valves that stick open, won't open, or leak at the solenoid are among the most common repair calls.
- Listen for a humming solenoid that won't actuate
- Check for debris in the valve diaphragm
- Test solenoid resistance with a multimeter
- Inspect wiring connections for corrosion
4. Controller and Timer Issues
A controller that loses its program, displays errors, or fails to trigger zones disrupts the whole system.
- Replace backup battery if settings reset
- Check transformer and power supply
- Verify zone wiring at the terminal strip
- Reset and reprogram the schedule
5. Clogged Drip Emitters and Lines
Drip systems are efficient but sensitive to mineral buildup and debris, especially in hard water areas.
- Flush the drip line at the end cap
- Soak emitters in vinegar to dissolve minerals
- Install or clean the inline filter
- Replace clogged emitters individually
6. Low Water Pressure Across Zones
When multiple zones underperform, the issue may be at the source — the backflow device, main valve, or supply line.
- Check the main shutoff valve is fully open
- Inspect the backflow preventer for blockage
- Look for a partially closed zone valve
- Consider pressure regulation if supply is excessive
DIY Repair vs. Hiring a Professional
Not every irrigation problem requires a service call. Understanding which repairs are safe for DIY and which demand a licensed technician saves you time, money, and frustration. The table below outlines typical tasks by complexity tier — entry-level fixes you can handle with basic tools, mid-range jobs that need some plumbing confidence, and high-end repairs best left to professionals.
| Repair Task | Complexity Tier | DIY Friendly? | Notes |
|---|---|---|---|
| Replace sprinkler head | Entry-level | Yes | Simple twist-off and swap; no digging required. |
| Clean clogged filter/emitter | Entry-level | Yes | Basic maintenance; flush lines and soak parts. |
| Replace solenoid on valve | Mid-range | Usually | Requires shutting off water and basic electrical care. |
| Repair lateral line leak | Mid-range | Usually | Digging and fitting replacement; manageable with patience. |
| Replace zone valve body | High-end | Sometimes | Involves cutting pipe and solvent welding; experience helps. |
| Mainline break repair | High-end | No | High risk of further damage; call a licensed pro. |
| Backflow preventer service | High-end | No | Often legally requires certified testing and repair. |
| Controller/electrical fault | Mid to High-end | Depends | Low-voltage wiring is DIY-safe; 120V faults need an electrician. |
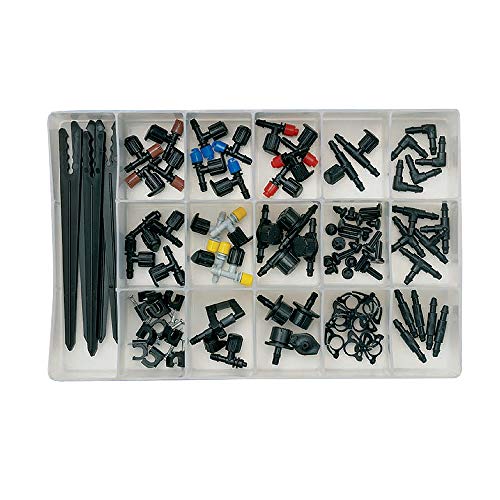
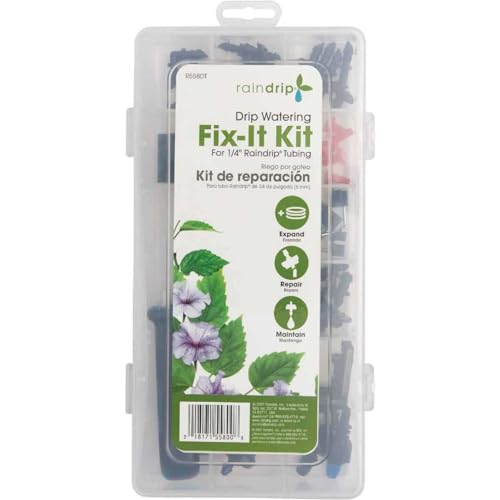
If you decide to tackle a repair yourself, gather the right supplies first. A basic irrigation toolkit includes replacement heads, couplers, Teflon tape, a small pipe cutter, and a multimeter for valve testing. Many gardeners keep spare parts on hand — see our garden tools guide for a broader tool checklist. For water delivery components, our garden hoses and garden sprinklers pages cover selection and maintenance. If your system uses drip lines, the guide on gravity-fed drip irrigation for raised beds and installing drip irrigation for raised beds offer setup context that helps with troubleshooting.
Step-by-Step: A Practical Repair Workflow
When you've identified a problem, follow a structured approach to avoid making things worse. This workflow applies to most common residential irrigation repairs.
- Shut off the water supply. Close the main irrigation valve or the zone valve feeding the problem area. Never work on pressurized lines.
- Isolate the zone and depressurize. Open a manual bleed screw on the zone valve or run the zone briefly to relieve residual pressure.
- Document the setup. Take photos of wiring, valve positions, and pipe layout before disassembly.
- Inspect and diagnose. Look for cracked fittings, debris, corrosion, or worn diaphragms. Test solenoids with a multimeter if the valve is suspect.
- Replace or repair the faulty component. Use matching parts — sprinkler heads with the same throw radius, valves with compatible flow ratings.
- Flush the line briefly. Before final assembly, run water through the open line to clear debris that could clog new parts.
- Reassemble and test. Restore water, run the zone, and check for leaks at every connection. Adjust head spray patterns as needed.
- Update your controller schedule if necessary. Confirm run times and start times are correct for the season.
How to Find Trusted Irrigation System Repair Near Me
Sometimes the smartest move is calling a professional — especially for mainline breaks, backflow testing, or complex electrical faults. Finding reliable local help is easier when you know what to look for and what questions to ask.
Verify Licensing and Insurance
Ask for the contractor's license number and proof of liability insurance. Irrigation work often involves plumbing connections and electrical components, so credentials matter.
Check Local Reviews and References
Look for recent reviews from neighbors and ask for references from jobs similar to yours. Local landscape supply stores and gardening suppliers near me often know reputable repair technicians.
Request a Written Estimate
Get a detailed estimate covering parts, labor, and diagnostic fees. Reputable contractors explain the scope clearly and don't pressure you into unnecessary work.
Ask About Warranty and Follow-Up
Confirm whether the repair carries a warranty and how follow-up service works. A good contractor stands behind their work and offers a reasonable callback window.
If your search for "irrigation system repair near me" turns up landscaping companies rather than dedicated irrigation specialists, ask specifically about their irrigation experience and certifications. General landscaping crews may handle basic head replacements but often subcontract valve and mainline work. For drainage-related issues that mimic irrigation problems, see our guide on landscape grading and drainage contractors near me. If you're also dealing with lawn stress from poor irrigation coverage, our lawn care companies near me page covers related services.
Preventive Maintenance to Avoid Costly Repairs
The best repair is the one you never need. A simple seasonal maintenance routine extends the life of your irrigation system and prevents most emergency calls.
Spring Startup
- Inspect all heads for damage and adjust spray patterns
- Clean filters and flush lines
- Test each zone for even coverage
- Check controller settings and replace backup battery
Mid-Season Check
- Look for soggy spots or dry patches indicating coverage gaps
- Clean drip emitters and inline filters
- Verify valve operation and listen for leaks
- Adjust run times for weather conditions
Fall Winterization
- Blow out lines with compressed air in freezing climates
- Shut off and drain the backflow preventer
- Remove or store portable sprinklers and timers
- Inspect for worn parts and replace before storage
For seasonal garden prep that complements irrigation maintenance, our guides on winter garden preparation and spring gardening provide broader context. If your system is aging and you're weighing repair versus replacement, consider whether upgraded components — like a smart controller or pressure-regulating heads — would deliver better long-term value. Newer mid-range controllers often include weather-based scheduling that reduces water waste.
Related Guides on Let Gardening
- Irrigation System Repair Near Me
- Installing Drip Irrigation for Raised Beds
- Gravity-Fed Drip Irrigation System for Raised Beds
- Garden Hoses
- Hose Nozzles
- Hose Reels
- Garden Sprinklers
- Garden Tools
- Landscaping
- Landscape Grading and Drainage Contractors Near Me
- Gardening Suppliers Near Me
- Lawn Care Companies Near Me
Ready to Fix Your Irrigation System?
Browse our recommended irrigation repair tools and replacement parts below, or explore our related guides for deeper troubleshooting help.
VIEW RECOMMENDED TOOLS