How to Properly Take Care of an Aloe Plant
Aloe vera is one of the most rewarding houseplants—if you know its secrets. This complete guide covers light, watering, soil, repotting, propagation, and troubleshooting, so your aloe thrives for years.
Shop Aloe Care Essentials →🌿 At a Glance: Aloe Vera Care
- Light: Bright, indirect sunlight (some direct morning sun is fine).
- Water: Deeply but infrequently—allow soil to dry completely between waterings.
- Soil: Well-draining cactus/succulent mix with extra perlite or sand.
- Temperature: 55–80°F (13–27°C); protect from frost and extreme heat.
- Fertilizer: Light feeding with a balanced houseplant fertilizer once in spring and again in summer.
Aloe vera (Aloe barbadensis) is a succulent that stores water in its thick, fleshy leaves. Native to arid regions, it has adapted to survive long droughts, making it surprisingly easy to care for—as long as you avoid the most common mistake: overwatering. When grown correctly, aloe not only adds a sculptural element to your home but also provides a handy source of soothing gel for minor burns and skin irritations.
Let’s dive into every aspect of aloe care, from choosing the right pot to encouraging healthy pups. Whether you’re a beginner or an experienced plant parent, these evidence-based tips will ensure your aloe plant stays plump, green, and happy.
1. Light & Placement
Aloe plants love bright, indirect light. A south- or west-facing window with a sheer curtain is ideal. They can tolerate a few hours of direct morning sun, but harsh afternoon rays can cause leaf scorch (brown, dry patches). If your aloe’s leaves start to stretch or lean, it’s reaching for more light—move it closer to the window.
For deeper insight on optimal sunlight, check out our detailed guide on how much sun an aloe vera plant needs. In low-light conditions, consider supplementing with a grow light for indoor plants to keep your aloe compact and vibrant.
2. Watering (The Golden Rule)
The number one killer of aloe is overwatering. Always let the soil dry out completely before watering again—stick your finger about 2 inches into the soil; if it feels dry, it’s time to water. When you do water, give it a deep soak until water runs out of the drainage holes, then empty the saucer. In winter, reduce watering to once every 3–4 weeks.
💧 Pro Tip: If the leaves start to look thin, curled, or wrinkled, it’s a sign of dehydration. A thorough watering will usually plump them back up within a day or two.
3. Soil & Potting
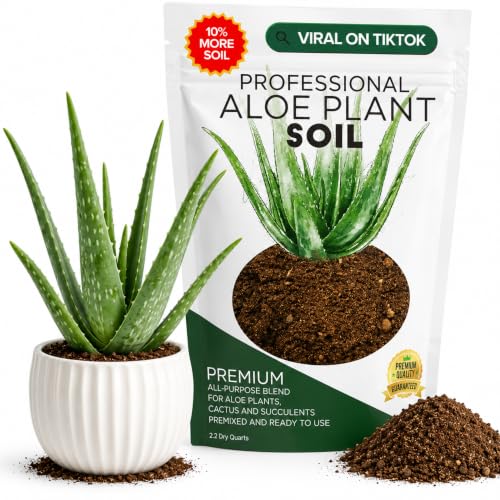
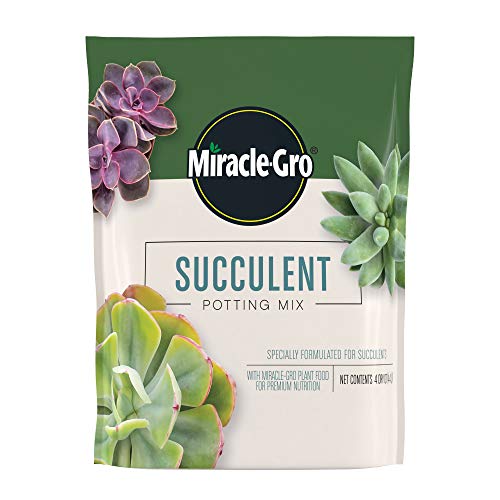
Aloe requires a fast-draining soil mix to prevent root rot. Use a commercial cactus/succulent blend and add extra perlite or coarse sand (about 1 part perlite to 3 parts soil) for added drainage. Choose a pot with a drainage hole—terra cotta is ideal because it wicks away excess moisture.
When repotting, select a container that is only 1–2 inches larger than the current one. Aloe plants prefer to be slightly root-bound, which encourages pups. For more potting tips, explore our guide on large planters for outdoor aloes if you plan to move your plant outside in summer.
4. Temperature & Humidity
Aloe thrives in average room temperatures between 55–80°F (13–27°C). It can tolerate brief periods of cooler weather but cannot survive frost. If you keep your aloe outdoors in summer, bring it inside when nighttime temperatures drop below 50°F. Humidity is rarely an issue—standard indoor levels are perfectly fine.
5. Fertilizer
Aloe is a light feeder. Fertilize once in early spring and again in mid-summer with a balanced, water-soluble houseplant fertilizer diluted to half-strength. Avoid fertilizing in fall and winter when the plant is dormant. Over-fertilizing can cause leggy growth and burn the roots.
6. Propagation: Growing New Aloe Plants
Mature aloe plants produce "pups"—small offsets that grow at the base. To propagate, gently remove the entire plant from its pot, separate the pups from the mother using a clean knife, and plant each pup in its own small pot with well-draining soil. Wait a few days before watering to allow the cut to callus over.
For a step-by-step visual guide on aloe propagation, see our detailed article on caring for succulents and cacti (similar principles apply).
7. Common Problems & Solutions
Brown or Soft Leaves
Cause: Overwatering or root rot. Fix: Stop watering, let soil dry completely, and trim away mushy roots. Repot in fresh, dry soil.
Yellowing Leaves
Cause: Too much water or poor drainage. Fix: Reduce watering frequency and ensure the pot has drainage holes.
Scorched Leaves
Cause: Too much direct sunlight. Fix: Move to bright, indirect light and trim the damaged leaf tips.
8. Seasonal Care
Aloe plants are active growers in spring and summer—this is when you’ll see the most new leaves and pups. Water slightly more often during these months (still allowing soil to dry) and provide fertilizer. In fall and winter, reduce watering significantly and stop fertilizing. If your aloe is near a chilly window, move it to a warmer spot to prevent cold stress.
If you live in a climate with harsh winters, you might consider moving your aloe to a protected area. For those who love outdoor gardening, our article on outdoor living and furniture placement can help you design a space that accommodates your aloe during the warmer months.
9. Aloe Uses & Benefits
Beyond its decorative appeal, aloe vera is prized for its medicinal gel. Simply cut a lower leaf, split it open, and apply the gel directly to minor burns, cuts, or dry skin. The gel contains vitamins, enzymes, and anti-inflammatory compounds. Remember: only use the gel from mature leaves, and always test on a small skin patch first.
✅ Quick Care Checklist
- Light: Bright indirect light (avoid harsh afternoon sun).
- Water: Let soil dry completely between waterings (deep soak).
- Soil: Cactus/succulent mix with extra perlite.
- Pot: Terra cotta with drainage hole.
- Fertilize: Twice a year (spring & summer) at half-strength.
- Propagate: Remove pups and plant in separate pots.
By following these guidelines, your aloe plant will not only survive but thrive—producing new pups, staying a vivid green, and offering you a natural remedy right from your windowsill. For more indoor plant advice, explore our articles on getting your Christmas cactus to bloom and identifying spider plant lookalikes.